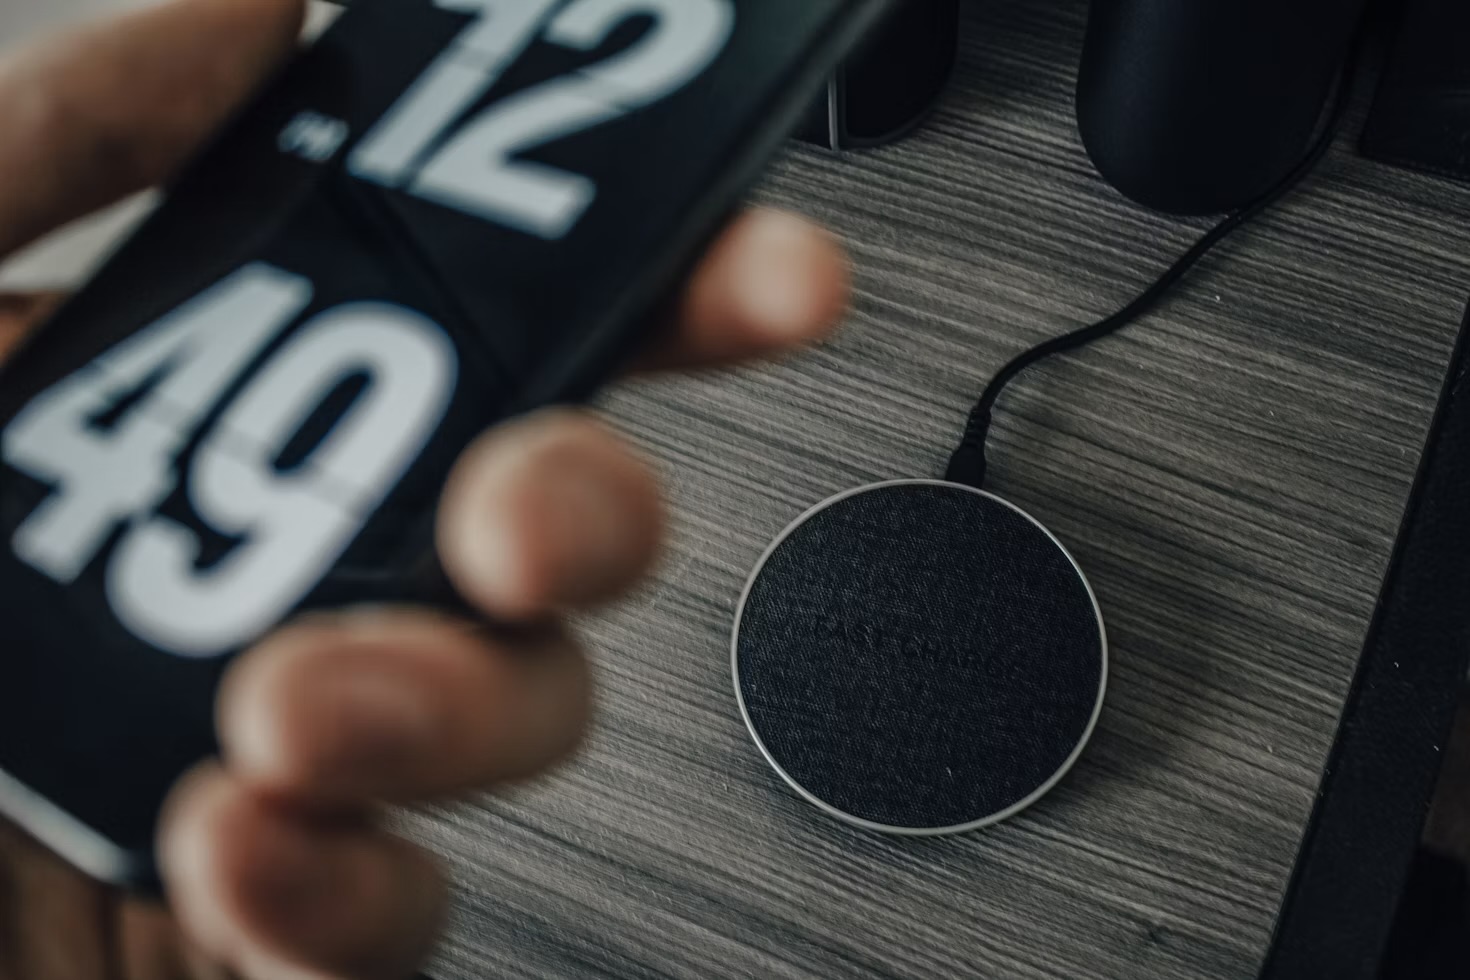
I dropped my phone in a car park two years ago, screen first, and for about four seconds before I picked it up I genuinely thought I'd lost every photo of my daughter's first eighteen months. The phone survived. The scare didn't, and it's the reason I finally sat down and worked out what "backed up" actually means, rather than just assuming the little cloud icon next to my camera roll had it covered.
This is beginner level — nothing here needs a subscription you don't already have, and the whole system took me under thirty minutes to set up properly. If you want the wider habit of automating reminders like the Step 5 check-in below, my Apple Shortcuts automation guide covers that separately; this one is just about the photos.
The problem: "backed up" usually means "backed up once"
Ask most people if their photos are backed up and they'll say yes, because their phone shows a cloud icon and they vaguely remember turning something on when they set it up. That's not backup, in the sense that actually protects you — it's one copy, in one place, controlled by one account. If that account gets locked, the subscription lapses, or the storage tier quietly fills up and silently stops uploading new photos, you don't find out until the exact moment you need the photo that never made it.
That's what nearly caught me out with the dropped phone. iCloud Photos was switched on, but I'd never once checked whether it was actually keeping up, or just assumed it was because I hadn't been told otherwise.
What "actually backed up" means: the 3-2-1 rule
Professional photographers and IT people have used the same rule for decades, and it fits a phone camera roll just as well: keep 3 copies of anything you can't replace, on 2 different types of storage, with 1 copy somewhere physically separate from the others. For most people that translates to: the photos on your phone (copy one), an automatic cloud backup (copy two), and a periodic copy on an external drive or a second cloud account (copy three, and the one that actually satisfies "different storage, different place"). Five steps below get you there.
Step 1: Turn on automatic backup — then actually verify it's working
On iPhone: Settings → [your name] → iCloud → Photos → toggle "Sync this iPhone." On Android: open Google Photos → tap your profile photo → Photos settings → Back up → turn it on. Both take under a minute. The part almost everyone skips is checking that it's current, not just switched on — scroll to the bottom of the same settings screen and look for how much is uploaded versus how much is waiting, or how full your storage tier is. I found mine three photos away from the free 15GB cap, silently stalled, with no warning anywhere I'd normally look. A backup that stopped six months ago and one that's running today look identical from the home screen.
Step 2: Add a second, independent copy
This is the step almost nobody takes, and it's the one that actually satisfies the 3-2-1 rule rather than just switching on the default. Every few months, plug in a cheap external drive or USB stick and drag a fresh export of your camera roll onto it — both iOS and Android let you select-all and export from the Photos app with no extra software. If a drive feels like more friction than you'll keep up with, a second free account on a different provider (an Amazon Photos or Dropbox account, say, separate from whichever cloud your phone defaults to) works almost as well, because the point isn't the medium, it's that a single company failing you can't take out every copy at once.
Step 3: Clear out what's actually clutter
Before you can find anything, you have to stop drowning it in screenshots and burst shots. Apple Photos has a built-in Duplicates album (Albums → Utilities → Duplicates) that finds genuine copies and merges them in two taps; Google Photos does the same thing automatically and surfaces it under "Free up space" in the app's storage settings. Burst shots are the other silent bloat — a five-second burst can be forty near-identical photos, and both apps group them into a single stack you can thin down to the two or three keepers in seconds. None of this is permanent the moment you tap delete, either: anything you clear sits in a Recently Deleted album for 30 days first, so there's no real risk in doing a proper pass.
Step 4: Make old photos findable without folders
Manually sorting years of photos into albums is a project you'll start once and never finish — I know, because I tried it in 2019 and got as far as March. The better move is trusting the search bar. Both Apple Photos and Google Photos index what's actually in a photo, so typing "beach 2023" or "dog park" or even just "birthday cake" surfaces the right shots without you having ever labelled a single one. It's the same idea behind how I finally stopped losing written notes, covered in more depth in my guide to building a linked notes vault — the fix for "I can't find it" is almost never more folders, it's a system that finds things for you.
Step 5: Set a recurring check-in, or you'll be back where you started
A backup system you check once and never again is a backup system that can silently fail for a year before you notice — which is exactly what almost happened to me. Put a recurring reminder in your calendar every three months: check that cloud backup is current (same screen as Step 1), confirm you're not near your storage cap, and if it's been a while, do the Step 2 export. I eventually turned mine into an actual Shortcut that nudges me automatically rather than trusting my own memory — the exact same automation approach I walk through in the Apple Shortcuts guide, if you want to take this step further than a calendar alert.
Worth doing at the same time: the photos aren't the only thing worth protecting on a lost or stolen phone. My 5 iPhone settings worth turning on covers locking down the Hidden and Recently Deleted albums specifically, which matters more once you know those albums are quietly holding photos you meant to delete.
Common mistakes worth avoiding
- Assuming the cloud icon means it's current. A stalled upload and a working one look the same from the home screen — the storage number is the only honest signal.
- Treating the default cloud backup as the whole system. It's copy one of three, not the finish line. Skipping Step 2 leaves you exactly as exposed as having no backup, the moment that one account has a problem.
- Building a manual folder system from scratch. It doesn't survive contact with ten thousand photos. Let search do the finding instead of trying to pre-sort everything.
- Setting it up once and never checking again. Storage caps and stalled syncs are both silent. The Step 5 reminder is what actually makes this a system rather than a one-off task.
The same discipline now applies to raw video files, not just photos. I only trust an AI video editor to cut my footage by editing the transcript because the original recording is always backed up somewhere I can re-cut from if the edit goes wrong — a transcript-based cut is only ever as safe as the file underneath it.
If getting your digital life properly organised — not just your photos — is something you're working on, the rest of the step-by-step setups in the full AI guides library cover notes, budgeting and automation the same way this one covers photos.
Want more setups like this one? I send an honest, tested-at-home tech verdict to my newsletter every week — sign up here and I'll send the next one straight to your inbox.
Questions people actually ask
Is iCloud or Google Photos backup enough on its own?
On its own, no — not because either service is unreliable, but because it's a single point of failure. If your account gets locked, hacked, or you simply forget to pay for storage one month, that one copy is the only copy. The 3-2-1 rule this guide walks through fixes that by adding a second, independent copy your phone's default backup was never designed to be.
How much cloud storage do I actually need for photo backup?
More than the free tier, almost always. Apple and Google both give you 15GB free, which a phone with a decent camera can fill in under a year. Check your current usage in Settings before guessing — I was three photos away from my cap for two months without knowing it, which is exactly the failure mode Step 1 above is written to catch.
What's the safest way to back up photos without paying for a subscription?
An external drive you copy your library onto every few months, sitting alongside whatever free cloud tier you already have. It won't update itself the way a paid plan does, which is the trade-off — but it satisfies the 3-2-1 rule at zero ongoing cost, provided you actually keep the recurring check-in from Step 5.
Can I recover photos if I accidentally delete them?
Usually, if you act fast. Both iCloud Photos and Google Photos keep a Recently Deleted album that holds removed photos for 30 days before they're gone for good, and restoring from it takes seconds. That window is exactly why Step 3's decluttering pass is safe to do in bulk — nothing you clear out disappears immediately.
What happens to my photo backups if I switch from iPhone to Android (or back)?
Your photos are fine either way, because the backup that matters is the cloud library, not the phone. Installing Google Photos on an iPhone, or iCloud on Android, gives you access to the same library from the other ecosystem — the switch changes which app you open, not which photos exist. I'd still trigger the Step 5 check-in the week you switch, just to confirm the new app actually finished syncing before you wipe the old phone.