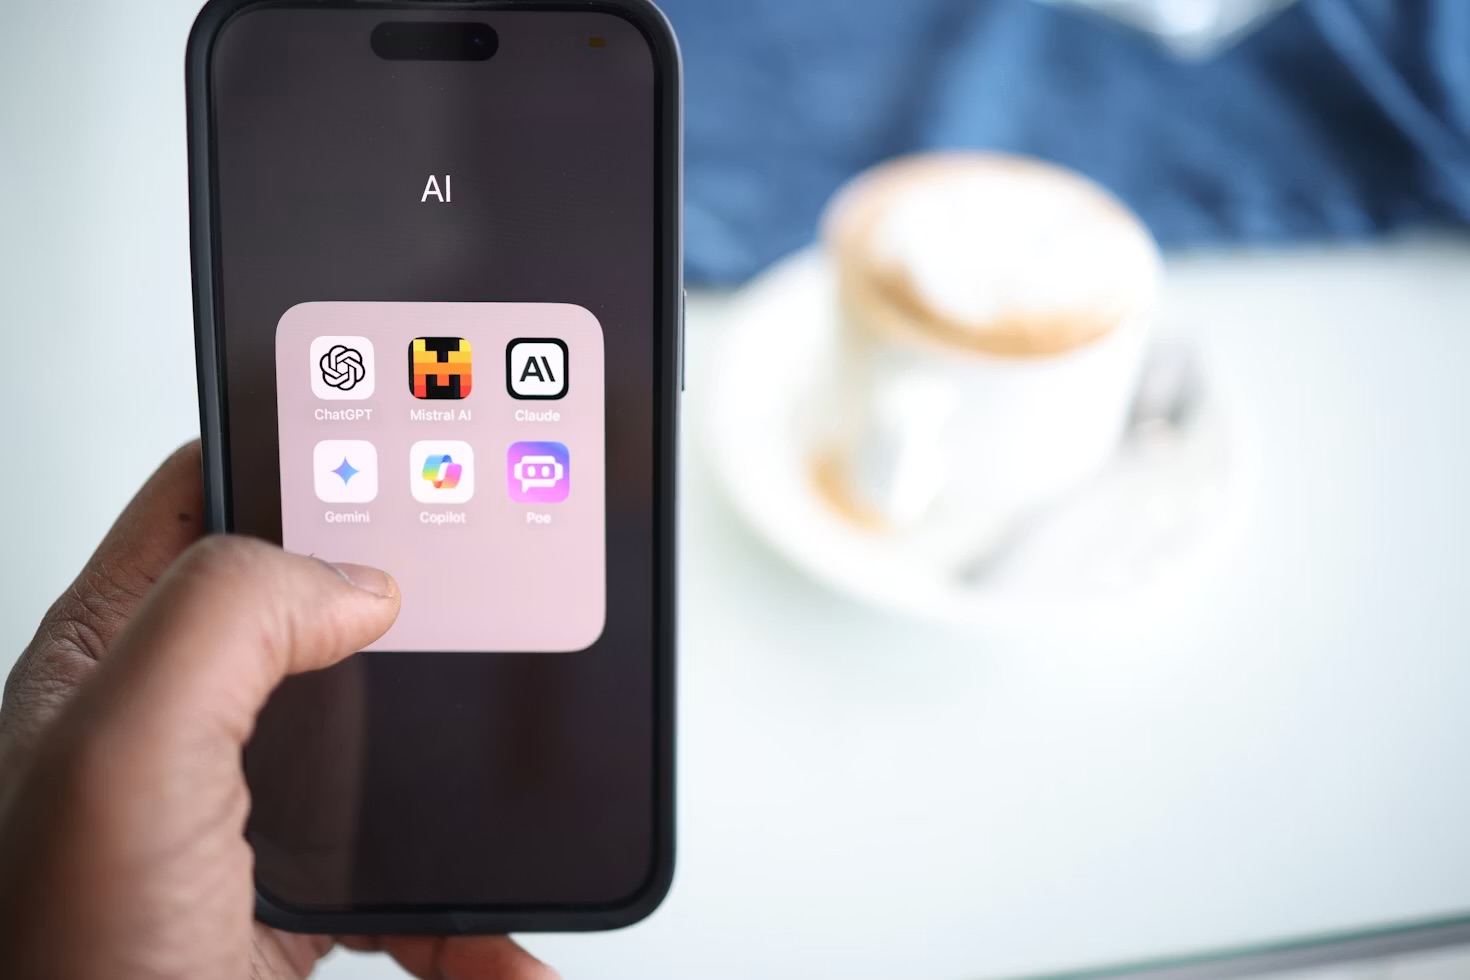
For a long time I treated my phone as where I used AI when I wasn't near a laptop — the compromise option. That was backwards. The phone has a camera, a microphone and my entire day in it. The laptop has none of that.
Most people install a chat app, open it twice, and never think about it again. Not because the app is poor, but because nothing about the default setup makes it reachable at the moment you'd actually want it — standing in a shop, halfway through a recipe, staring at a letter from HMRC. The app is four taps deep in a folder and the thought passes.
What follows is the setup I run now, and it took about an hour to build. It's beginner level: no coding, no paid tier required, nothing you can't undo in a minute. If you've never used a chat assistant at all, my ChatGPT beginner's playbook is the better starting point — come back here once you're comfortable typing a question into one. Or, if you'd rather be taken through it slowly from your very first conversation, the first two modules of Your First 30 Days With AI — my plain-English course for exactly that — are free to read, with no card details needed.
What you'll need before you start
- A phone from roughly the last five years. iPhone or Android both work; every step below has an equivalent on each — none of this is a reason to upgrade early.
- One AI assistant account. ChatGPT, Claude, Gemini and Perplexity all have free tiers that are genuinely capable. If you're not sure which, I compared the realistic options in my roundup of free AI tools that aren't ChatGPT.
- An hour, once. Steps one to three take about twenty minutes and deliver most of the value. The rest you can add over a lazy Sunday.
First, the question people actually search for: does my phone already have this?
Two different things get called “AI on your phone”, and conflating them is why people give up before they start. There is the AI the manufacturer builds into the operating system, and there is the assistant app you install yourself. Everything in this guide needs only the second one.
The built-in layer is the one with the hardware cut-off. Apple Intelligence needs an iPhone 15 Pro or later, iOS 18.1 or newer and about 7GB free, because the requirement is really about memory rather than age — Apple’s own support page is the list worth trusting, since it changes. On Android it varies by manufacturer and model, so check your own settings rather than a spec sheet written about someone else’s handset.
Here is the part that gets left out: none of that gates anything below. ChatGPT, Claude, Gemini and Perplexity run as ordinary apps and do their thinking on their servers, not on your phone. The six steps here work on a handset old enough that the built-in features will never reach it. “My phone is too old for AI” is the most common reason people skip this, and it is the wrong one.
Step 1: Pick one assistant and make it the default
The single biggest mistake here is installing four apps to compare them. I did exactly that for two months and used none of them properly, because every time a question came up I first had to decide which icon to tap — and that half-second of friction is enough to make you not bother.
Choose one. Genuinely, almost any of them; the gap between the leading assistants is far smaller than the gap between having one set up well and having three set up badly. If you already pay for something, that's your answer. If you don't, start with whichever company you already have an account with, and delete the others off the phone. You can always swap later — you just can't run a habit on a committee.
Step 2: Put it one thumb-movement away
Now make it physically impossible to forget. This is the step people skip and it's the one that decides whether any of this sticks:
- Home screen, bottom row. Not page two, not inside a folder called "AI". The dock, where your thumb already goes without looking.
- Bind a hardware button. On recent iPhones the Action Button can launch the app or start a voice conversation directly. On Android, most launchers let you remap a long-press of the power button or add a gesture.
- Add a lock-screen widget. Most assistants ship one that opens straight into voice or camera mode, so you skip the app entirely.
It sounds trivial. It isn't. The difference between four taps and one is the difference between a tool you remember at your desk and one you use in a car park.
A useful test: for the next week, whenever you catch yourself about to Google something, ask the assistant instead and see which answer you preferred. You'll learn very quickly which half of your questions it's actually better at — and that's the half worth building habits around.
Step 3: Use the three inputs a laptop doesn't have
This is where a phone assistant stops being a smaller version of the desktop one and becomes something else entirely. Three inputs do nearly all the heavy lifting:
Voice
Long-form voice is the input I underrated for longest. Talking for ninety seconds about a half-formed problem, then asking it to summarise what I actually said, is the fastest thinking tool I own. It's also the only way I've found to capture an idea while walking the dog without stopping to type.
Camera
Point it at things and ask. A washing-machine error code. A plant that's dying and you don't know why. A wine label, a wiring diagram, a menu in a language you don't read. The correct instinct once you've done it a few times is to photograph first and ask questions second — it's almost always faster than describing the thing in words.
The share sheet
Every assistant app registers itself in the phone's share menu, which means any article, PDF, email or screenshot can be sent to it in two taps from wherever you found it. "Share → assistant → summarise this and tell me if there's anything I need to do" is the single most-used move in my whole setup.
Step 4: Save the five prompts you'll actually reuse
After a fortnight you'll notice you keep typing variations of the same handful of requests. Stop retyping them. Every assistant app supports either saved prompts, pinned chats or custom instructions; failing that, your phone's text-replacement settings will expand a shortcut like ;sumd into a full paragraph.
Mine, more or less verbatim:
- "Summarise this in five bullets, then tell me the one thing I'd regret not noticing."
- "I'm about to reply to this. Draft something short, polite and firm — no filler."
- "Explain this to me as if I'm smart but completely new to the subject."
- "Here's a photo of what's in my fridge. Three dinners, nothing else bought."
- "Talk me through the trade-offs here, then tell me which you'd pick and why."
Five is plenty. If you want a bigger starting library rather than building your own, my free collection of 100 AI prompts is designed exactly for this — pick the ten that fit your life and ignore the rest.
Step 5: Let it into the apps you already live in
Up to now the assistant is still a destination. This step makes it part of the furniture. On iPhone, the Shortcuts app can wire a single tap to "take a photo, send it to the assistant with this prompt, put the answer in Notes" — I went through the whole app, not just this one trick, in a dedicated step-by-step guide to automating your iPhone with Shortcuts. On Android, the same job falls to routines or an automation app. Either way you're removing the copy-and-paste in the middle.
The two I'd build first: one that turns a photo of a receipt into a line in a running expenses note — the phone half of the AI budgeting system I actually use — and one that takes whatever is on your clipboard and rewrites it in plain English. Neither takes more than ten minutes to set up and both get used weekly. If you enjoy that side of it, the same thinking scales up considerably — I've written a full guide to wiring AI into an automated personal system, and the broader AI tools hub collects everything else on the site in one place.
Step 6: Set your privacy boundaries once, then stop worrying
A phone assistant sees more of your life than a desktop one ever could, so decide the rules now rather than in the moment. It takes five minutes and buys you the freedom to use the thing without second-guessing every request.
- Turn off training on your conversations in the app's data settings if you'd rather your chats weren't used to improve the model. Every major assistant offers this and none of them make it prominent.
- Grant permissions one at a time. Both iOS and Android let you give an app limited photo access, so it sees only pictures you specifically hand it rather than your whole library. Take that option — it's the same lower-drawer settings habit behind the iPhone settings actually worth turning on.
- Keep a mental do-not-send list. Mine is anything with a full account number, anyone else's medical details, and work material covered by a confidentiality agreement.
- For the rest, run it locally. If even a summarised email leaving your device bothers you, a local model is a genuine answer rather than a consolation — my guide to setting up a private AI assistant with Ollama covers it.
Worth being clear about what those boundaries do and don’t cover, too. A VPN is the tool people reach for here and it protects a narrower slice than most assume — I ran the tests on that myth rather than repeating it. Permissions and a do-not-send list do far more of the real work.
"The best AI setup isn't the most powerful one. It's the one that's already in your hand at the moment you have the question."
Common mistakes worth avoiding
- Installing everything. Four assistants on the home screen guarantees you use none of them well. One default, chosen badly, still beats three chosen carefully.
- Typing when you could talk or photograph. If you're still thumbing out long questions, you're using a phone as a bad laptop and missing the entire advantage.
- Trusting a confident answer about a local fact. Opening times, prices, whether a shop is still open — these are exactly what assistants get wrong most convincingly. Check anything you'd be annoyed to be wrong about.
- Leaving it in a folder. Everything above collapses if the app isn't reachable in one movement. Fix the placement before you fix anything else.
Where this earns its keep: the small questions you'd otherwise abandon. Not the essay-writing or the grand automations — the dozen moments a day where you'd have shrugged and moved on, and now you don't have to.
The bottom line
None of this is technically hard. That's precisely why so few people do it: there's no satisfying moment of setup to be proud of, just a series of small placement decisions that quietly change how often you reach for the thing. An hour of unglamorous configuration is the whole trick.
Start with steps one and two today — pick one app, move it to your dock, bind a button. Give it a week before you touch anything else. If by Friday you've asked it something you'd normally have let go, the rest of this guide is worth your Sunday. If you'd rather have the whole subject explained properly first, that's more or less what I wrote AI Made Simple for — and if you'd rather work through it in order, one short lesson at a time, Your First 30 Days With AI is built for exactly that, with a printable worksheet for every module.
An assistant on the phone handles the asking. Getting other people into the diary is a different problem, and the three AI scheduling apps I would actually recommend is a deliberately short list because most of them solve only the easy half.
Once asking it questions on demand feels routine, the same assistant can go a step further and actually teach you something on a schedule — that's the system in learning a new skill with an AI tutor, built on this exact setup.
A phone assistant is at its most useful when you are away from your desk, and planning a break is a good first real test: here is how I plan a whole trip with AI in one evening, including the checks that catch the details it gets wrong.
Want more guides like this one? I send a new practical AI workflow to my newsletter every week — sign up here and I'll send the next one straight to your inbox.
Once the assistant is on your home screen, try pointing its camera at a real problem. How to fix almost anything around the house with your phone's AI camera walks through exactly that, with the safety limits.
Questions people actually ask
Which AI assistant should I actually put on my phone?
Whichever one you already have an account with. ChatGPT, Claude, Gemini and Perplexity all have capable phone apps, and the differences between them matter far less than having one set up properly. Pick a single default rather than installing four — the whole point of this system is that reaching for it becomes automatic, and that only happens when there's no decision to make first.
Do I need to pay for a subscription to make this worth doing?
No. Every step here works on a free tier, and the free apps handle voice, camera and photo questions perfectly well. Paying gets you a smarter model, longer conversations and higher daily limits, which starts to matter if you lean on it all day. Set the whole thing up free for a fortnight first — if you find yourself hitting limits, that's your answer. Battery life is the other thing that shifts under that kind of use, though most of what I assumed about that turned out to be myth rather than fact.
Is it safe to give an AI app access to my camera, microphone and photos?
Those permissions are what make a phone assistant worth having, but grant them one at a time and only when a feature actually needs one. Both iPhone and Android offer limited photo access, so the app sees only the pictures you hand it rather than your entire library. Assume anything you send to a cloud assistant may be reviewed or used for training unless you've turned that off in its settings, and keep genuinely private material off it entirely.
How do I get AI on my phone if it is a few years old?
Install one assistant app and you already have it. The apps do their work on the provider's servers, so an older handset is running a chat window and a network connection rather than the model itself — my own everyday setup ran happily on a phone three generations behind the built-in features. The manufacturer's on-device AI is a separate, newer layer with real hardware requirements, and it is not what makes any of the steps in this guide work.
How do I set an AI assistant as the one my phone opens by default?
On Android you can replace the assistant that answers the home-button or power-button gesture in Settings under the default apps list, so the app you chose is what a long-press opens. iOS does not let you replace Siri outright, so the equivalent is a home-screen position and a shortcut: put the app in the thumb row, and add an Action Button or Control Centre shortcut to open it straight into voice. Both routes end in the same place — one deliberate movement rather than hunting through a folder.
How is this different from Siri or Google Assistant?
Siri and Google Assistant are built for commands — timers, messages, playing music — and they're still better at controlling the phone itself. A chat assistant is built for questions and thinking: reading a document, comparing two options, drafting something, explaining what's in a photo. They cover different halves of the job rather than competing, which is why I keep both and choose by what I'm actually trying to do.
How do I talk to AI on my phone instead of typing?
Every major assistant app has a voice mode, usually a button beside the text box, that turns it into a spoken conversation rather than simple dictation. To make it one movement, bind it: on recent iPhones the Action Button can start a voice conversation directly, and on Android you can set your chosen assistant to answer the long-press of the power button. It is worth the minute it takes — talking through a half-formed problem for ninety seconds and asking for a summary is quicker than typing it, and it still works when your hands are full.