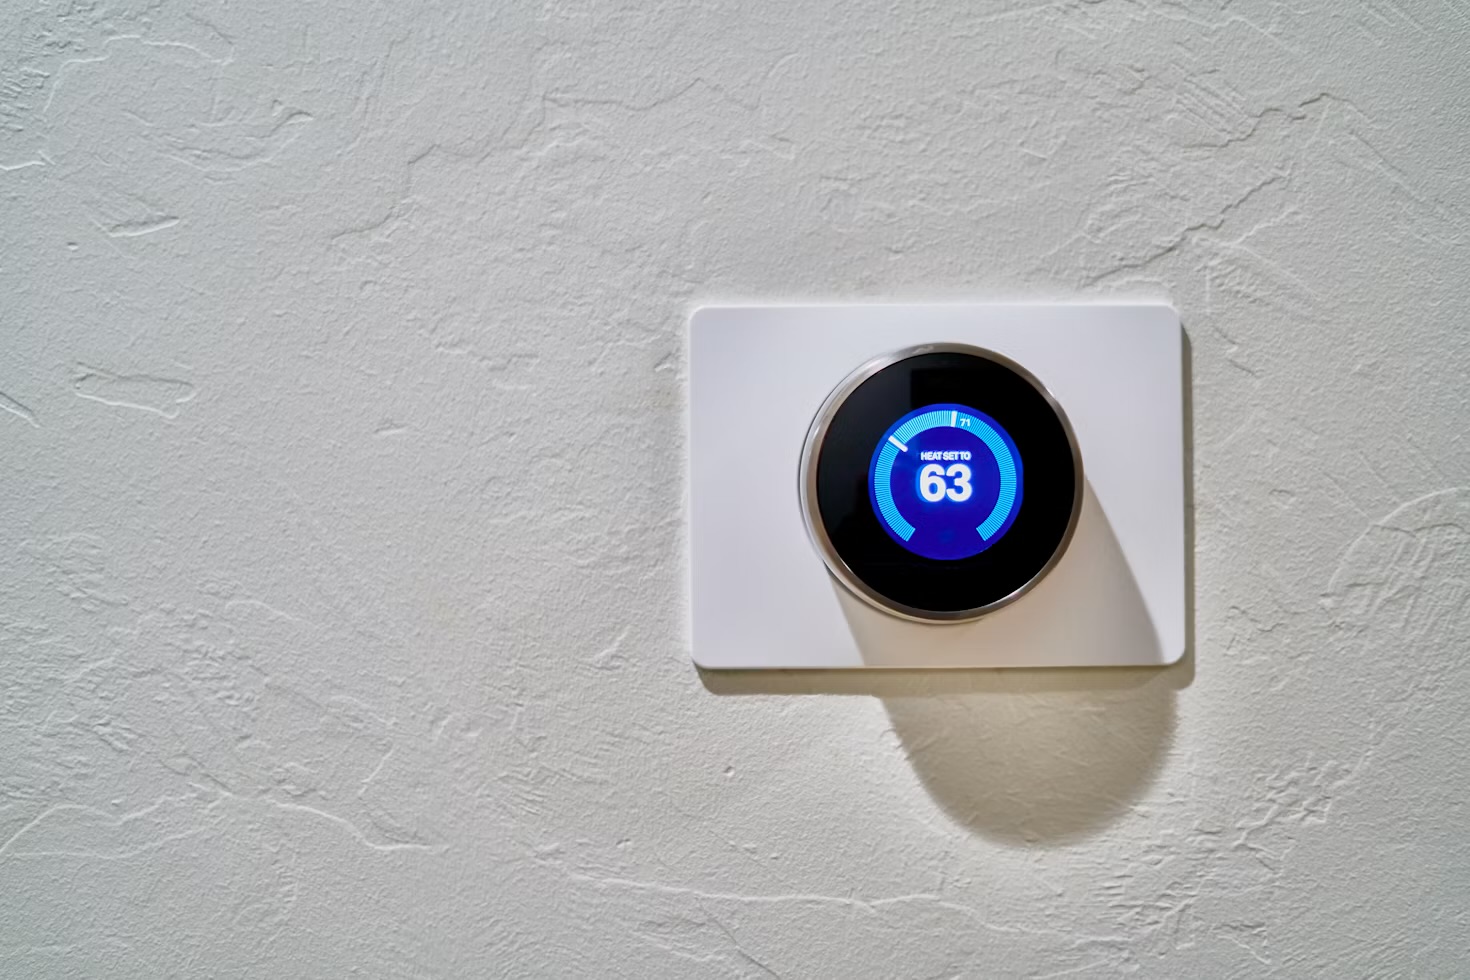
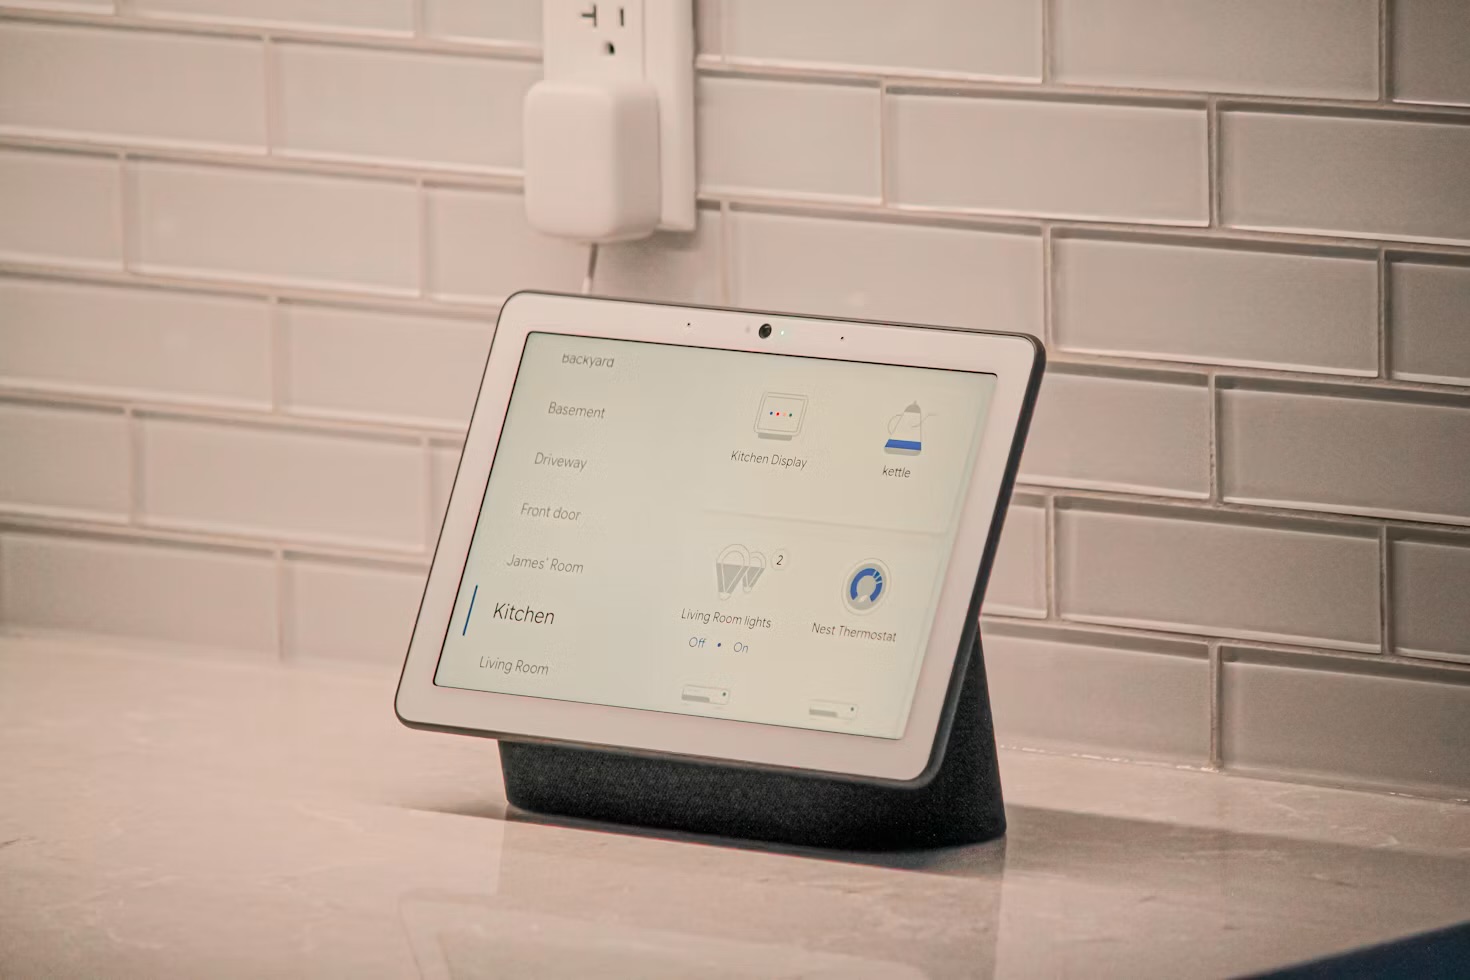
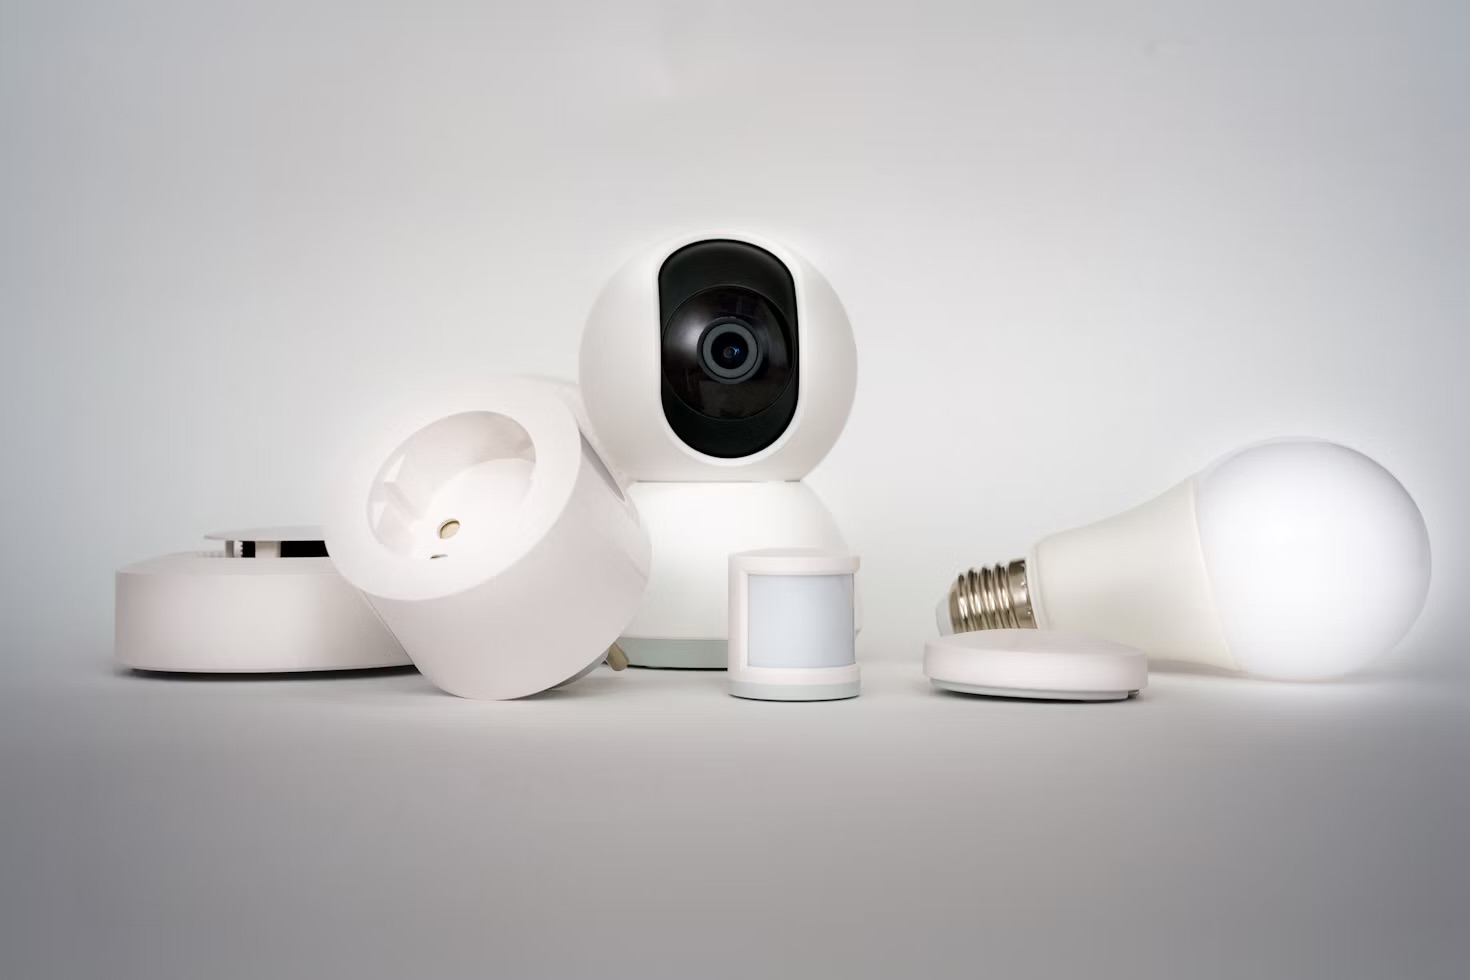
My internet has dropped three times this year — once for four hours during a storm. Every time, my lights turned on at dusk, my heating held its schedule, and my August lock still opened for my key code. None of them noticed the outage, because none of them were ever asking the internet's permission in the first place.
This is intermediate level: nothing here needs you to write code, but you will be choosing hardware, flashing or unboxing a small device, and re-pairing a handful of gadgets, so set aside a weekend rather than an evening. If you haven't settled on your first smart home devices yet, start with my smart home starter kit playbook and come back here once you've got two or three things worth protecting from an outage.
The outage that started this
The storm was the one that made me actually do something about it. Four hours with no internet, and out of habit I checked my phone to see what had stopped working — and nothing had. The lights still followed their schedule. The heating held. My front door still unlocked with the same code it always uses. I sat there faintly disappointed I didn't have a more dramatic story to tell you, and then realised that was the whole point.
It wasn't always like this. Two years ago a router reboot mid-morning meant my Google Home Mini stopped responding to anything, my thermostat app showed a spinning wheel instead of a temperature, and a smart plug I'd set to a schedule just sat there doing whatever it had last been told. Every one of those devices worked by sending a request out to a company's server and waiting for an answer back — which is fine until the "out and back" part of that sentence breaks.
What actually changed: a hub that doesn't ask permission
Home Assistant is free, open-source software that runs on a small box in your own house and talks to your devices directly over your own network, rather than routing every command through a manufacturer's cloud. It isn't a single gadget you buy — it's the brain that sits between all your existing gadgets and gives them one dashboard, one set of automations, and — the part that actually matters here — a local connection that has nothing to do with whether your internet is up.
It doesn't replace devices that are genuinely cloud-only, and I'm not pretending it does. What it does is take everything that's capable of talking locally — most Zigbee and Z-Wave gear, an increasing pile of Matter devices, and plenty of Wi-Fi products with a documented local API — and stop it from phoning home for no reason. My Ecobee still uses its own app for some things, because it's built cloud-first; the sensors, plugs and lock I added since all talk to the hub and nowhere else.
Worth saying up front: I've written before about pulling back from over-automating my house — this isn't a return trip to fifty clever rules. It's the opposite instinct applied to a different problem: fewer things depending on a company's server, not more things depending on each other.
Step 1: Pick your hardware
You've got three realistic starting points. Home Assistant Green (around £85) is the official plug-and-play box — no flashing, no SD card, no terminal. Plug it into your router, follow the on-screen wizard, and it's running in under ten minutes. A Raspberry Pi 4 or 5 with the official Home Assistant OS image is cheaper if you've already got one lying around, and only marginally more involved — you write the image to a microSD card with their official flashing tool and boot from that. An old laptop or mini PC works too, if you'd rather run it as a virtual machine. For a first attempt, I'd point almost anyone at the Green box; the money buys you an afternoon back.
Step 2: Get through onboarding
Connect the hub to your router with an ethernet cable — not Wi-Fi, at least for setup, since a wired connection removes one variable while you're troubleshooting anything else. Open a browser on your phone or laptop, go to homeassistant.local:8123, and the setup wizard takes it from there: create a local account, confirm your location and time zone, and let it scan your network. This is the part that genuinely surprised me — it found my smart plugs, my Google Home Mini and two of my light bulbs without me touching a single setting, because they were already broadcasting themselves on the same network.
Step 3: Add the devices that are already local
Go to Settings → Devices & Services and look at what it's already suggesting. Anything Home Assistant flags as "discovered" is almost always safe to add with one click — accept them one at a time rather than all at once, so if something behaves oddly you know exactly which addition caused it. This first pass, with no extra hardware at all, is usually where most people find their smart plugs, some lights and their router itself already join the dashboard.
Step 4: Bring in Zigbee and Z-Wave devices
This is the step that actually delivers the outage-proofing, and it's the one people skip because it involves buying something. A USB Zigbee or Z-Wave dongle (£25–£35, plugged straight into the hub) lets battery-powered devices — door and window sensors, locks, motion sensors — talk to the hub over their own dedicated radio network instead of your home Wi-Fi. These were the devices that kept working through my storm: my August lock, a door sensor on the side gate, and two motion sensors in the hallway, all reporting to the hub over Zigbee with nothing routed anywhere near an ISP.
Pairing one is usually a physical button press on the device itself while the hub is in "add device" mode — the same three-step dance you'd do pairing a Bluetooth speaker, just with a slightly longer instruction sheet the first time.
Step 5: Build one automation, not fifty
Go to Settings → Automations & Scenes → Create Automation, and build exactly one thing you'll actually notice: lights on at sunset, heating down when the last person leaves, a notification if the side gate sensor trips after 11pm. The visual editor is genuinely a drag-and-drop trigger-condition-action builder — no code required for anything this simple. Resist the urge to build ten automations in one sitting. The single one you actually trust is worth more than a house full of rules you'll spend a weekend debugging later.
Step 6: Actually test the failure case
This is the step the whole guide exists for, and almost nobody does it. Unplug your router — not the hub, the router — for two minutes, and watch what still responds. A Zigbee-paired lock should still open. A local automation should still fire on schedule. If something you expected to keep working doesn't, check whether it's actually a local integration or a cloud one masquerading as local in the app; not every "smart" device tells you the truth about which one it is until you test it exactly like this.
Step 7 (optional): Add remote access properly
Once the local side works, you may still want to check on the house from outside it — and that's a separate, deliberate layer, not something that happens by accident. The simplest safe route is Nabu Casa's official cloud add-on (about £5.50/month), which gives you secure remote access and voice assistant integration without you opening ports on your own router. It's genuinely optional, and I'd get everything above running first before deciding whether you need it at all.
Common mistakes worth avoiding
- Buying the Zigbee dongle as an afterthought. It's the single piece of hardware that actually delivers the "keeps working offline" promise — without it, most of your devices are still talking to the internet regardless of which hub sits in front of them.
- Adding every device in one sitting. Onboard in small batches so a misbehaving integration is obvious rather than buried in a pile of simultaneous changes.
- Never actually testing the outage. A setup you haven't deliberately broken and watched recover is a setup you're only assuming works.
- Assuming "smart" means "local." Check each device's integration type before you buy — plenty of genuinely good products are cloud-only by design, and that's a fine choice to make, just not one to discover by accident during a power cut.
Where this earns its keep: not a cleverer dashboard, but the boring stuff — a lock that still opens and a light that still turns on, on the one evening a year your internet actually goes down.
Home Assistant sits alongside the rest of what I've actually kept running my house, which I collect on the smart home hub — including the honest verdicts on the thermostats and sensors it's now managing. Keeping the house off the cloud is only half of a local-first setup, though; the other half is the assistant itself, which is why I run a private AI assistant with no cloud round-trip on the same machine.
Want more setups like this one? I send an honest, tested-at-home tech verdict to my newsletter every week — sign up here and I'll send the next one straight to your inbox.
Questions people actually ask
Do I need to know how to code to use Home Assistant?
No. The onboarding wizard auto-discovers most devices already on your network and walks you through adding them with clicks, not commands. You only touch anything resembling code if you want a specific automation the visual editor can't express — and even then it's usually a few lines you copy and adjust, not something you write from scratch. I built everything in this guide without opening a text editor once.
What hardware should I actually buy?
For most people, Home Assistant Green — the official plug-and-play box, around £85 — is the least fiddly starting point: no flashing, no SD card, plug it in and it's ready in minutes. A Raspberry Pi 4 or 5 with the official image is cheaper if you already own one. Either way, budget an extra £25-£35 for a Zigbee or Z-Wave USB dongle the day you want locks, sensors or battery-powered devices talking to the hub directly rather than through their own app.
Will my existing smart home devices actually work with it?
Almost certainly some of them, and probably more than you expect. Home Assistant has built-in integrations for well over a thousand brands, and anything that already speaks Matter, Zigbee or Z-Wave joins directly. Devices that are cloud-only and never publish a local API are the exception — check the integrations list for your specific brand before you buy the hardware, not after.
If my internet goes down, does everything really keep working?
Everything running on Zigbee, Z-Wave or your local Wi-Fi network through a local-only integration keeps working, because the hub and the devices are talking to each other over your own network, not out to a manufacturer's server and back. What stops working is anything that genuinely needs the internet — voice assistants that route through a cloud API, or remote access from outside your house, unless you've set that up separately. A full power cut is a different problem entirely: the hub itself needs power, same as anything else.
Is Home Assistant actually free?
The software is free and open source, full stop — no subscription, no account required to run it. The only cost is the hardware you run it on, which is a one-off purchase. The one optional paid layer is Nabu Casa's cloud add-on (about £5.50/month), which gives you secure remote access and voice assistant integration without opening ports on your router yourself — genuinely optional, and I'd get everything working locally first before deciding whether you want it.