You don't need forty gadgets and a weekend of frustration. Here's the exact order to buy, install, and connect your first smart home devices — so it actually works the first time.
Every smart home horror story starts the same way: someone buys six devices from three different brands on the same day, tries to set them all up at once, and spends their Saturday fighting with four different apps instead of enjoying anything. I've made that mistake so you don't have to.
This is the order I now recommend to anyone starting from zero. Follow it step by step and you'll have a genuinely useful smart home running within a week — with room to expand later without starting over.
Step 1: Pick your ecosystem before you buy anything
This is the single most important decision in the entire process, and it's the one most people skip. Your "ecosystem" is the platform that ties your devices together — Apple Home, Google Home, or Amazon Alexa. Pick one before you buy a single bulb.
Here's the good news: almost every smart home device sold today supports Matter, a shared standard that means most gadgets now work across all three ecosystems. But your choice of hub still matters, because it determines which voice assistant you'll talk to and which app you'll open every day.
- Already have iPhones in the house: go with Apple Home. It's the most private option and integrates cleanly with HomePod and Apple TV as hubs.
- Already have Android phones or a Nest speaker: go with Google Home. Best voice recognition and search integration.
- Want the widest device selection and cheapest hardware: go with Amazon Alexa. The largest ecosystem by device count, with the most frequent sales.
If it's genuinely down to those last two, I put Google Home and Alexa's away-mode security features head to head — worth reading before you commit, since that's the one job you really don't want the cheaper option quietly losing at.
Whichever you choose, that app becomes your control centre. Everything else in this guide gets added to it.
Step 2: Start with a smart speaker or display as your hub
Buy one smart speaker or smart display that matches your chosen ecosystem — an Amazon Echo, Google Nest Hub, or Apple HomePod mini. This is your command centre and voice control point, and it's also usually the cheapest single device that makes everything else feel "smart" rather than just "connected." If you go with a display rather than a speaker, my first week with one in the kitchen covers what actually earned its place on the counter.
Place it somewhere central — a kitchen or living room — not tucked in a back bedroom. You'll use it far more than you expect, mostly for quick voice commands ("turn off the lights") rather than checking an app.
"The best smart home setup is the one you forget is smart — it just quietly does what you'd have done manually, a beat faster."
Step 3: Add smart plugs before anything else
Smart plugs are the highest value-per-pound device in this entire guide. A two-pack costs less than a smart bulb, and instantly makes anything you plug into it controllable by voice, app, or schedule — lamps, fans, coffee makers, string lights, whatever you've got.
Buy two or three to start. Plug one into your bedside lamp, one into your living room lamp, and one into whatever appliance you always forget to turn off. Set them up in your ecosystem app — this takes about three minutes per plug, following the in-app pairing instructions — and you'll immediately understand the appeal of a smart home without spending much money.
Step 4: Move to smart lighting once you're hooked
Once the smart plugs prove the concept, smart bulbs are the natural next step. Start with the rooms you're in most: living room and bedroom. You don't need to replace every bulb in the house — start with 4 to 6 bulbs in your main living space.
Two practical tips that will save you money and hassle:
- Buy bulbs, not fixtures, where possible. Smart bulbs work in any existing lamp or fixture — no electrician needed.
- Check the switch situation first. If a room uses a physical wall switch to cut power to the bulb, that switch needs to stay "on" at all times for the smart bulb to respond to app or voice commands. Either train the household to leave it on, or budget for a smart switch instead of smart bulbs in that room.
Step 5: Add one security device
A video doorbell or a single indoor/outdoor camera is usually the third purchase people make, and for good reason — it's the device that delivers daily, tangible peace of mind rather than just convenience.
Look for one that's Matter-compatible or natively supports your chosen ecosystem, offers local storage (avoiding a mandatory subscription if you want to skip it), and has a resolution of at least 1080p. Position it to capture your main entry point, not the whole street — a narrower, well-lit field of view beats wide-angle footage that's too grainy to actually identify anyone.
Step 6: Bring in a smart thermostat
This is the device with the clearest return on investment — most smart thermostats pay for themselves within a year or two through reduced heating and cooling costs, because they learn your schedule and stop heating an empty house.
Installation is the one part of this guide where I'd recommend checking your comfort level with basic wiring first. Most modern smart thermostats include a compatibility checker in their app before you buy, and if your system uses a "C-wire" for continuous power, the process is genuinely a 15-minute DIY job. If you're not confident, it's worth the modest cost of a professional install — this is the one device in your starter kit where getting it wrong means a very confused HVAC system.
Realistic budget for all six steps: Speaker/display (£40–£100), 3 smart plugs (£25–£35), 5 smart bulbs (£50–£90), 1 security camera or doorbell (£60–£150), 1 smart thermostat (£120–£220). Total range: roughly £300–£600, spread across as many paydays as you like. You do not need to buy all of this in one go — the whole point of Step 1 is making sure whatever you add later still fits together.
Step 7: Build two or three automations, not twenty
Once your devices are connected, resist the urge to automate everything immediately. I automated my whole house once and quietly switched half of it back off, which is exactly why this step stays deliberately small. Start with two or three routines that solve a real daily annoyance:
- "Good morning": lights turn on gradually and the thermostat nudges up, triggered by your alarm or a set time.
- "Leaving home": lights off, thermostat set back, doors confirmed locked — triggered by your phone leaving a geofenced radius or a single voice command.
- "Movie time": lights dim to 20%, triggered by a single voice command or button press.
These three cover the majority of daily friction that a smart home actually solves. Add more only once these feel automatic and you've identified a genuine second gap — not because a device supports a feature you haven't needed yet.
Troubleshooting the common early mistakes
Device won't connect during setup: Almost always a Wi-Fi band issue. Most smart home devices only connect to the 2.4GHz band, not 5GHz. Check your router settings, or temporarily create a separate 2.4GHz network name during setup if your router combines both bands into one.
Voice assistant "can't find" a device you just added: Give it a minute, then explicitly ask your ecosystem app to "discover devices" or "sync" — this manual refresh fixes the vast majority of these issues.
Too many apps, not enough control: This means you skipped Step 1. Go back and consolidate everything into your chosen ecosystem's single app rather than relying on each manufacturer's individual app.
Where to go from here
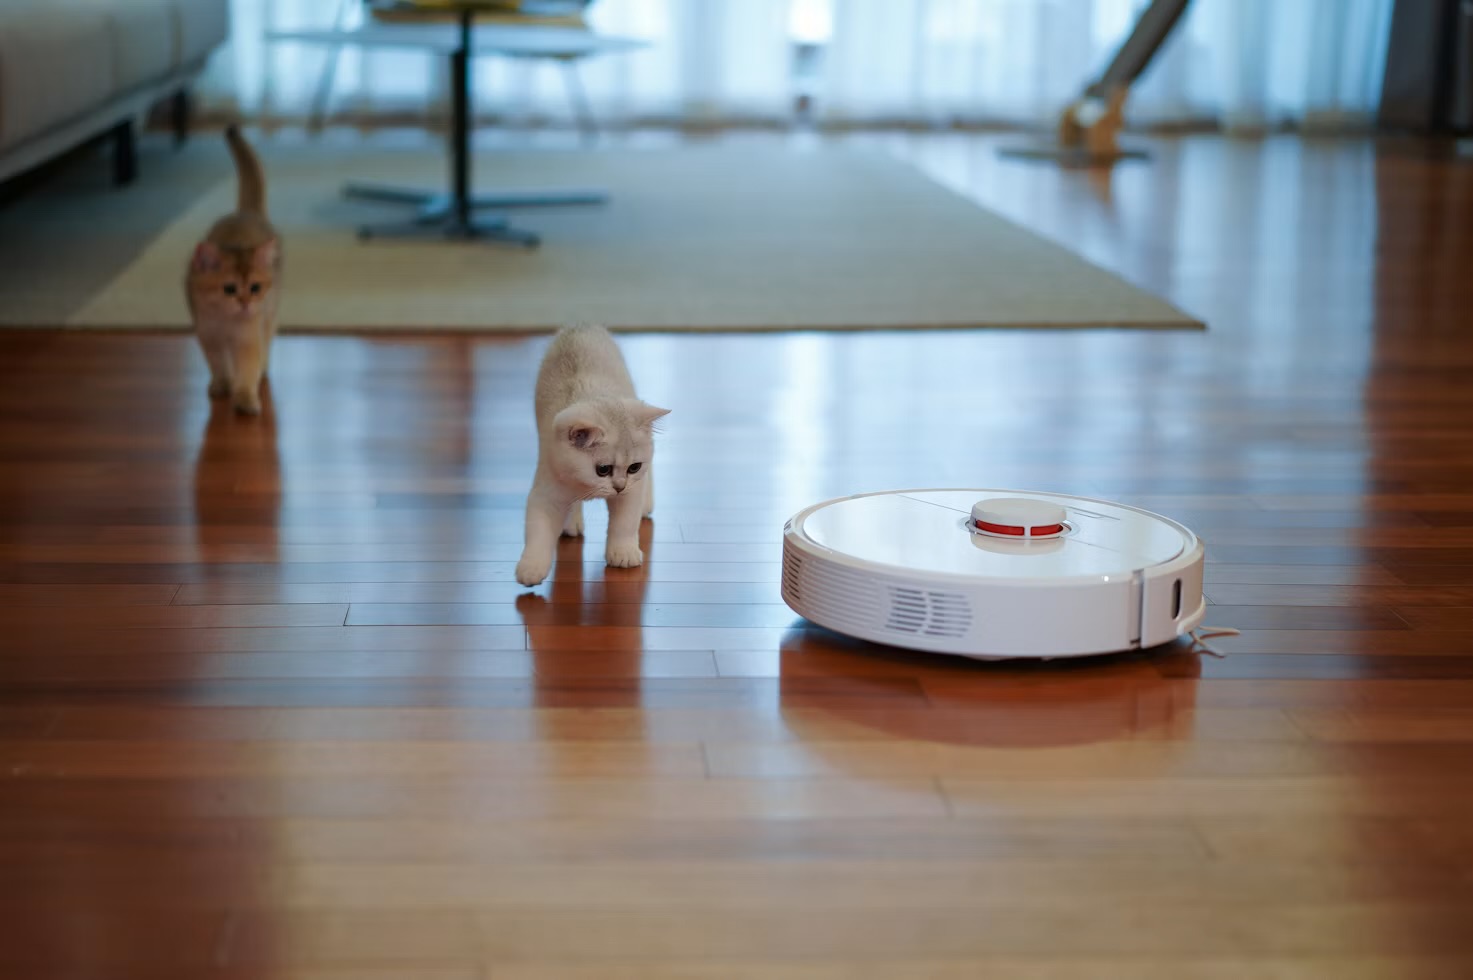
Once this starter kit is running smoothly, the next additions — smart locks, robot vacuums, in-wall smart switches, sensors for doors and windows — all slot into the same ecosystem you already chose — though if you'd rather add only what genuinely earns its keep, my shortlist of the only three smart home gadgets worth buying is the harder-nosed take in Step 1. That's the entire point of doing it in this order: every future purchase becomes a five-minute add, not another weekend project.
Start small, get it right, and let the system earn its way into more of your home.
Want more practical, no-nonsense tech breakdowns like this one delivered straight to your inbox? Join the Brite newsletter — no fluff, just what's actually worth your time and money.
Once the basics are in, the temptation is to keep adding. It is worth knowing which of these devices now want a monthly fee before you commit to an ecosystem.
Lighting is usually the first thing people buy, and the one where the price gap between brands is widest. My side-by-side of Philips Hue and Govee covers what the extra money actually buys, and the cases where it does not.
Heating is the one piece worth more than a passing thought, because it is the device you will argue with most. My Nest versus Ecobee comparison goes through the differences that only show up after a month.
A starter kit gets you running on somebody else's cloud, which is fine until the broadband drops. When you want the house to carry on regardless, rebuilding it on a local Home Assistant hub is the next move.
Questions people actually ask
What smart home devices should I buy first?
Start with one smart speaker or display in your chosen ecosystem, then two or three smart plugs. Plugs are the highest value-per-pound device you can buy — a two-pack costs less than a smart bulb and makes any lamp or appliance controllable by voice, app or schedule within minutes.
Do I need to pick between Alexa, Google Home and Apple Home?
Yes, and it's the most important decision in the whole process. Thanks to the Matter standard most devices now work across all three, but your choice still sets which voice assistant you talk to and which app you open every day — broadly, Apple Home if your house runs on iPhones, Google Home for Android households, and Alexa for the widest device selection and cheapest hardware.
How much does a basic smart home cost?
A realistic budget for a full starter kit — speaker, three plugs, five bulbs, one camera or doorbell and a smart thermostat — is roughly £300 to £600. You don't need to spend it in one go: start with a speaker and a couple of plugs for well under £100 and add the rest gradually.
Why won't my smart home device connect to Wi-Fi?
It's almost always a Wi-Fi band issue — most smart home devices only connect to the 2.4GHz band, not 5GHz. Check your router settings, or temporarily create a separate 2.4GHz network name during setup if your router combines both bands under one name.